Wiring Madness
1.0 CY-822A Arduino Mega 4.0
This content was created for an older version and is outdated. Check version 2 for an up-to-date description!
This page describes actions that may result in a fire hazard or an electric shock. Repeat at your own risk.
Oh wow, I really do not want to show this but here we go. Please understand that this project reignited my interest in electronics. Something I have not touched (or licked) since childhood and it took quite a while to figure everything out again and get used to soldering.
So most of this is straight forward. In the beginning I used a CY-822A as controller for the buttons. This is basically a gamepad for the PC and does not require any soldering. I modded it somewhat in the end to get analogue inputs but that’s it.


Buttons
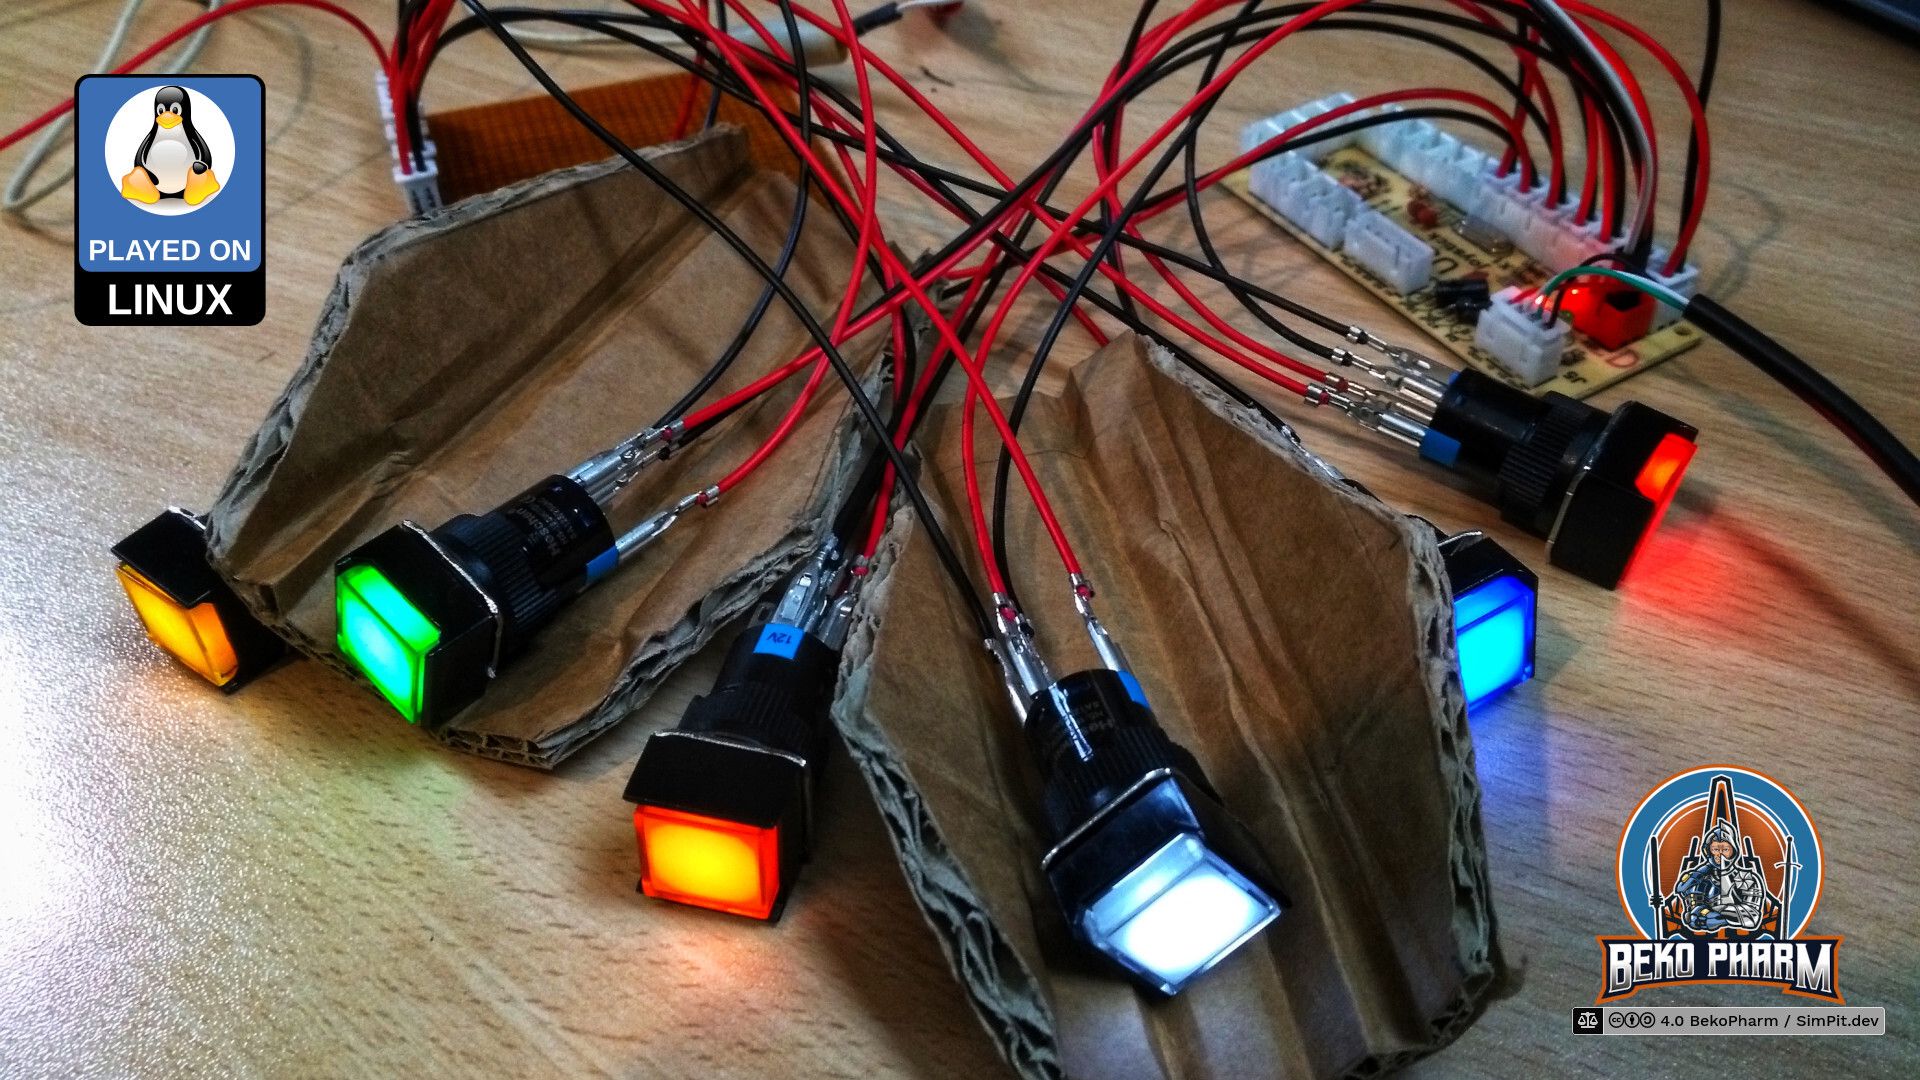
Each button is simply plugged into to a free connector and that’s it. My model came with two red connector to connect backlit buttons. I attached a lot more button LEDs with a DIY power distribution board to that figuring that USB 2 would allow for 500mA so there way plenty of wiggle room. Each LED needs ~30mA.
Add a potentiometer to that power distribution and you get dimmable LED.
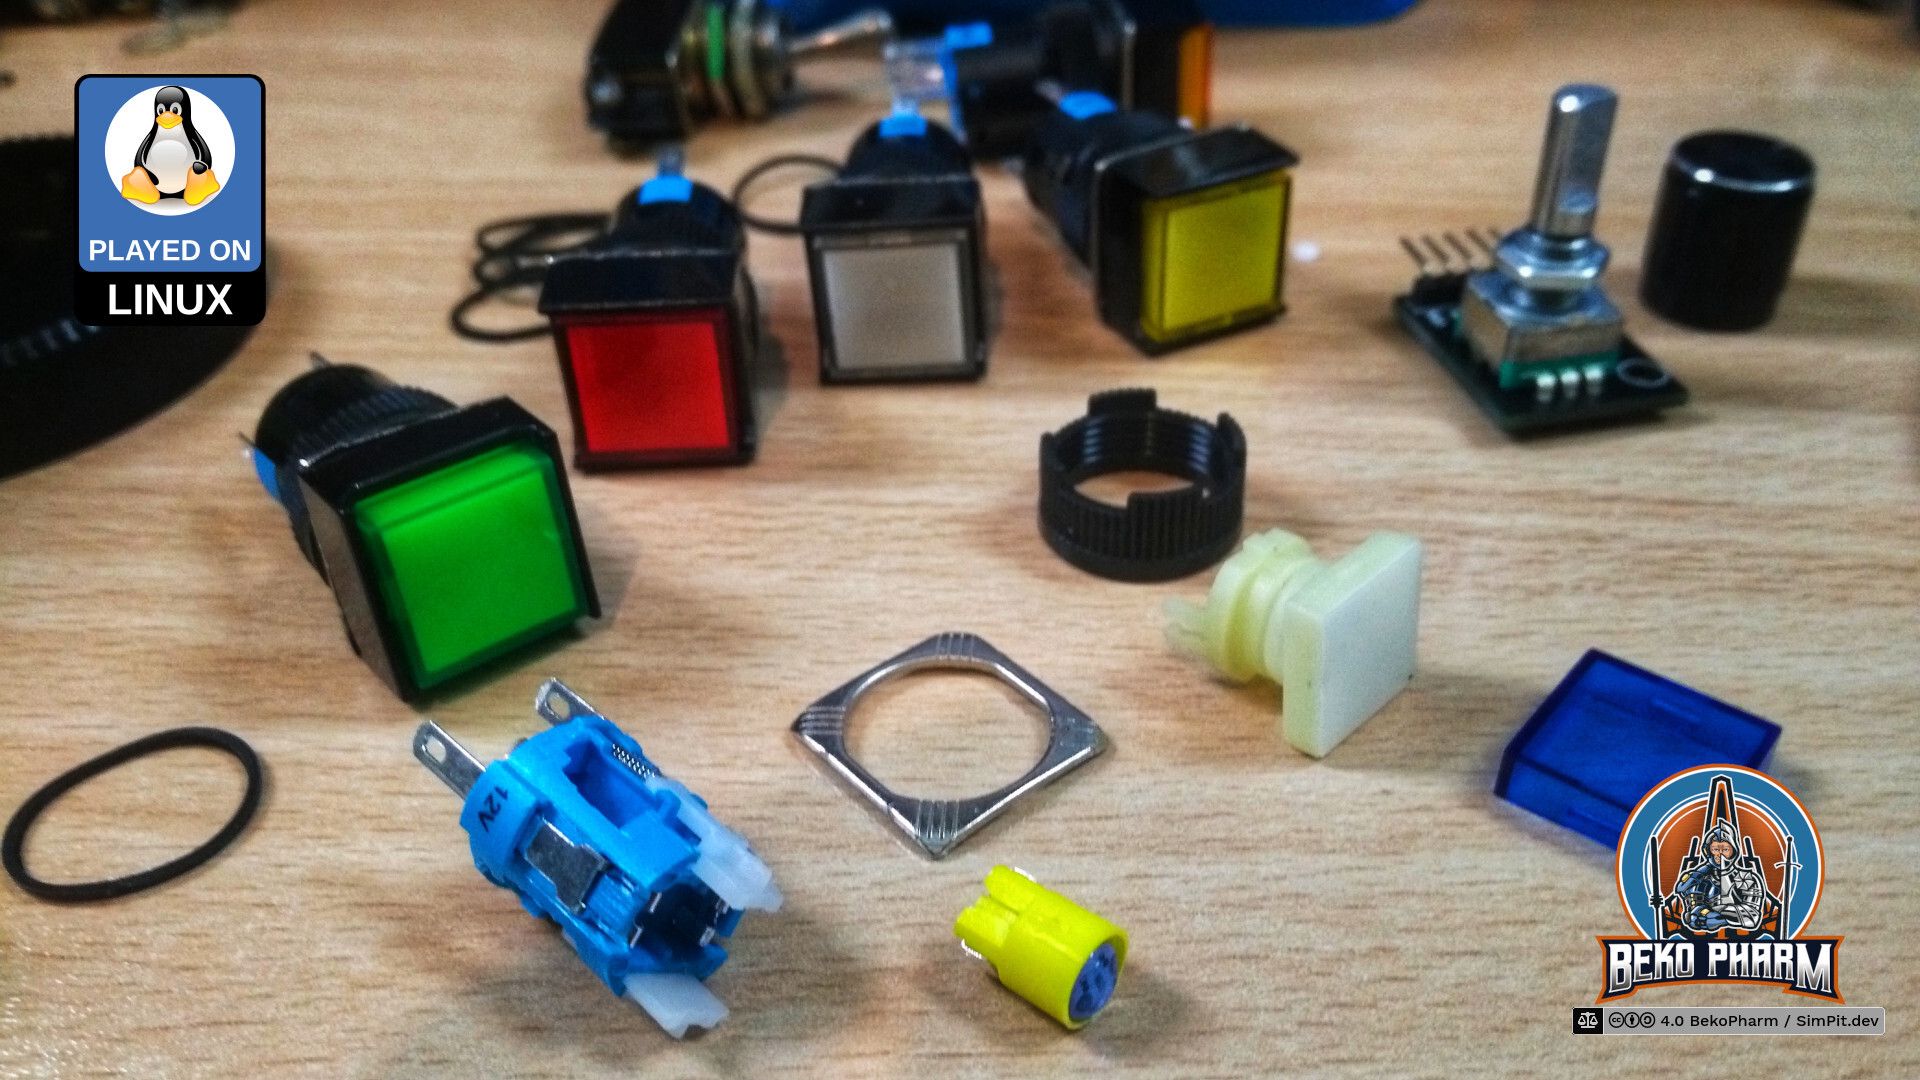
Most of my push buttons are momentary switches labelled as Heschen but I kinda doubt that this is really the manufacturer. I found those when I was looking for a cheaper version of the Harmony XB6 series, that I really like. The Harmony line is almost 100% more expensive though and designed for real world scenarios and kinda out of question for a low budget toy.
Officially they are 12V but do fine with 5V. Dimming works. Each LED has it’s own VCC/GND but most models I got do not even care so they are very beginner friendly. The LED is always the same just coated with colored varnish. The removable caps are colored too. They come in various shapes, round, square, four-sided and also in latching editions.
I won’t go into details about potentiometers but I wrote some on this here. You’ll find plenty of tutorials on this on the internet as well.
Display
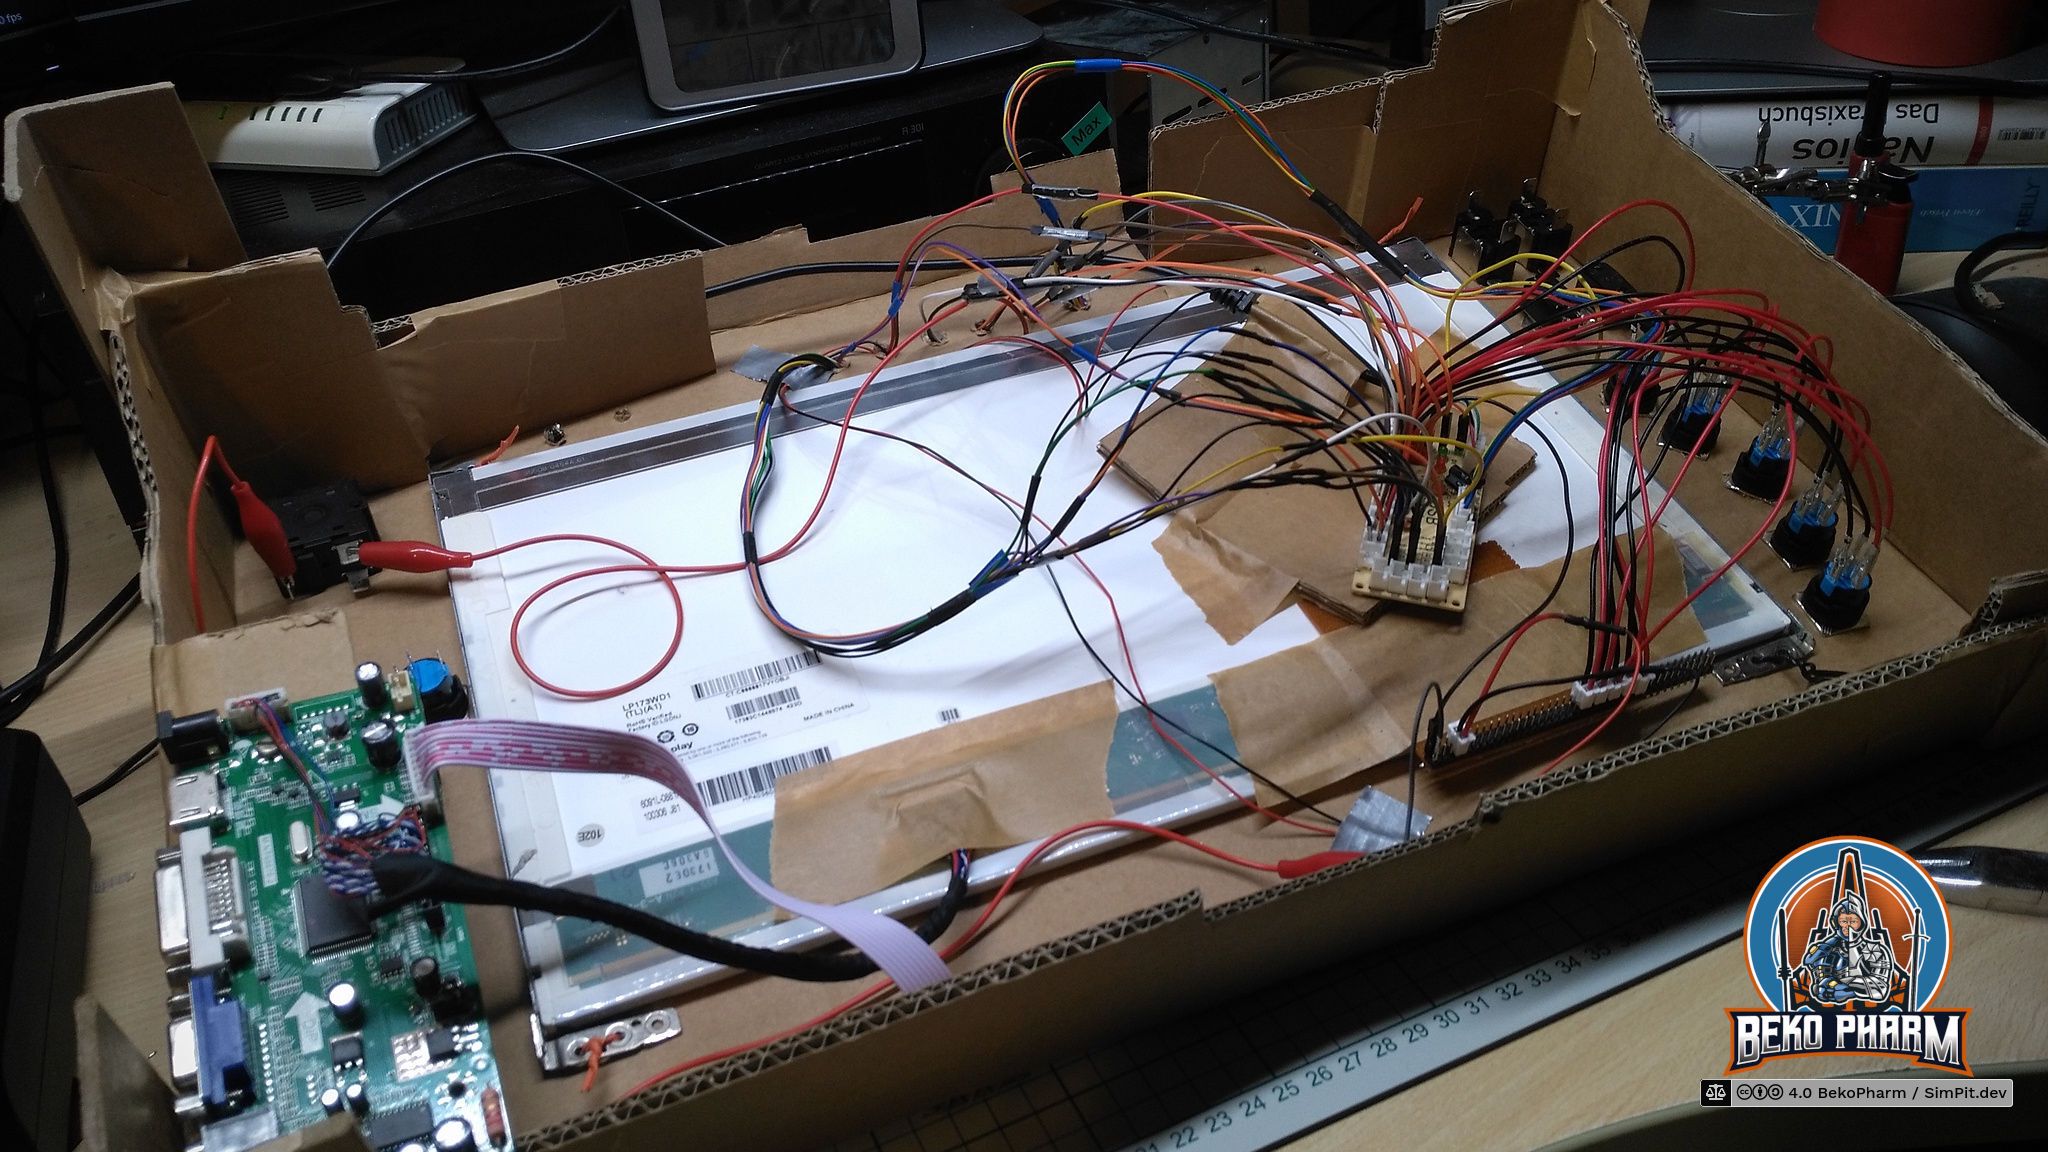
The 17,3" display is salvaged from an old broken laptop. The exact model of mine is a LP173WD1-TLE1 by LG Display. That’s a pretty generic model using Low Voltage Differential Signaling (LVDS). Such displays need a LCD Controller to drive it. Such a 3rd party controller can be obstained for ~30 EUR depending on it’s features. There are a bunch of basic models on the market and the only difference is usually the flashed firmware and the power configuration for the backlight of the specific display. So if you have a broken laptop around salvage this and check for the exact model number and pin count on it’s backside.
As you can see mine here does HDMI, DVI, SVGA. A speaker could also be connected. The controller is powered by 12V and the vendor claims it needs 3A but in reality 1.5A are more than enough though I didn’t test it’s limit with full brightness yet. This may as well be attached to an external PSU.
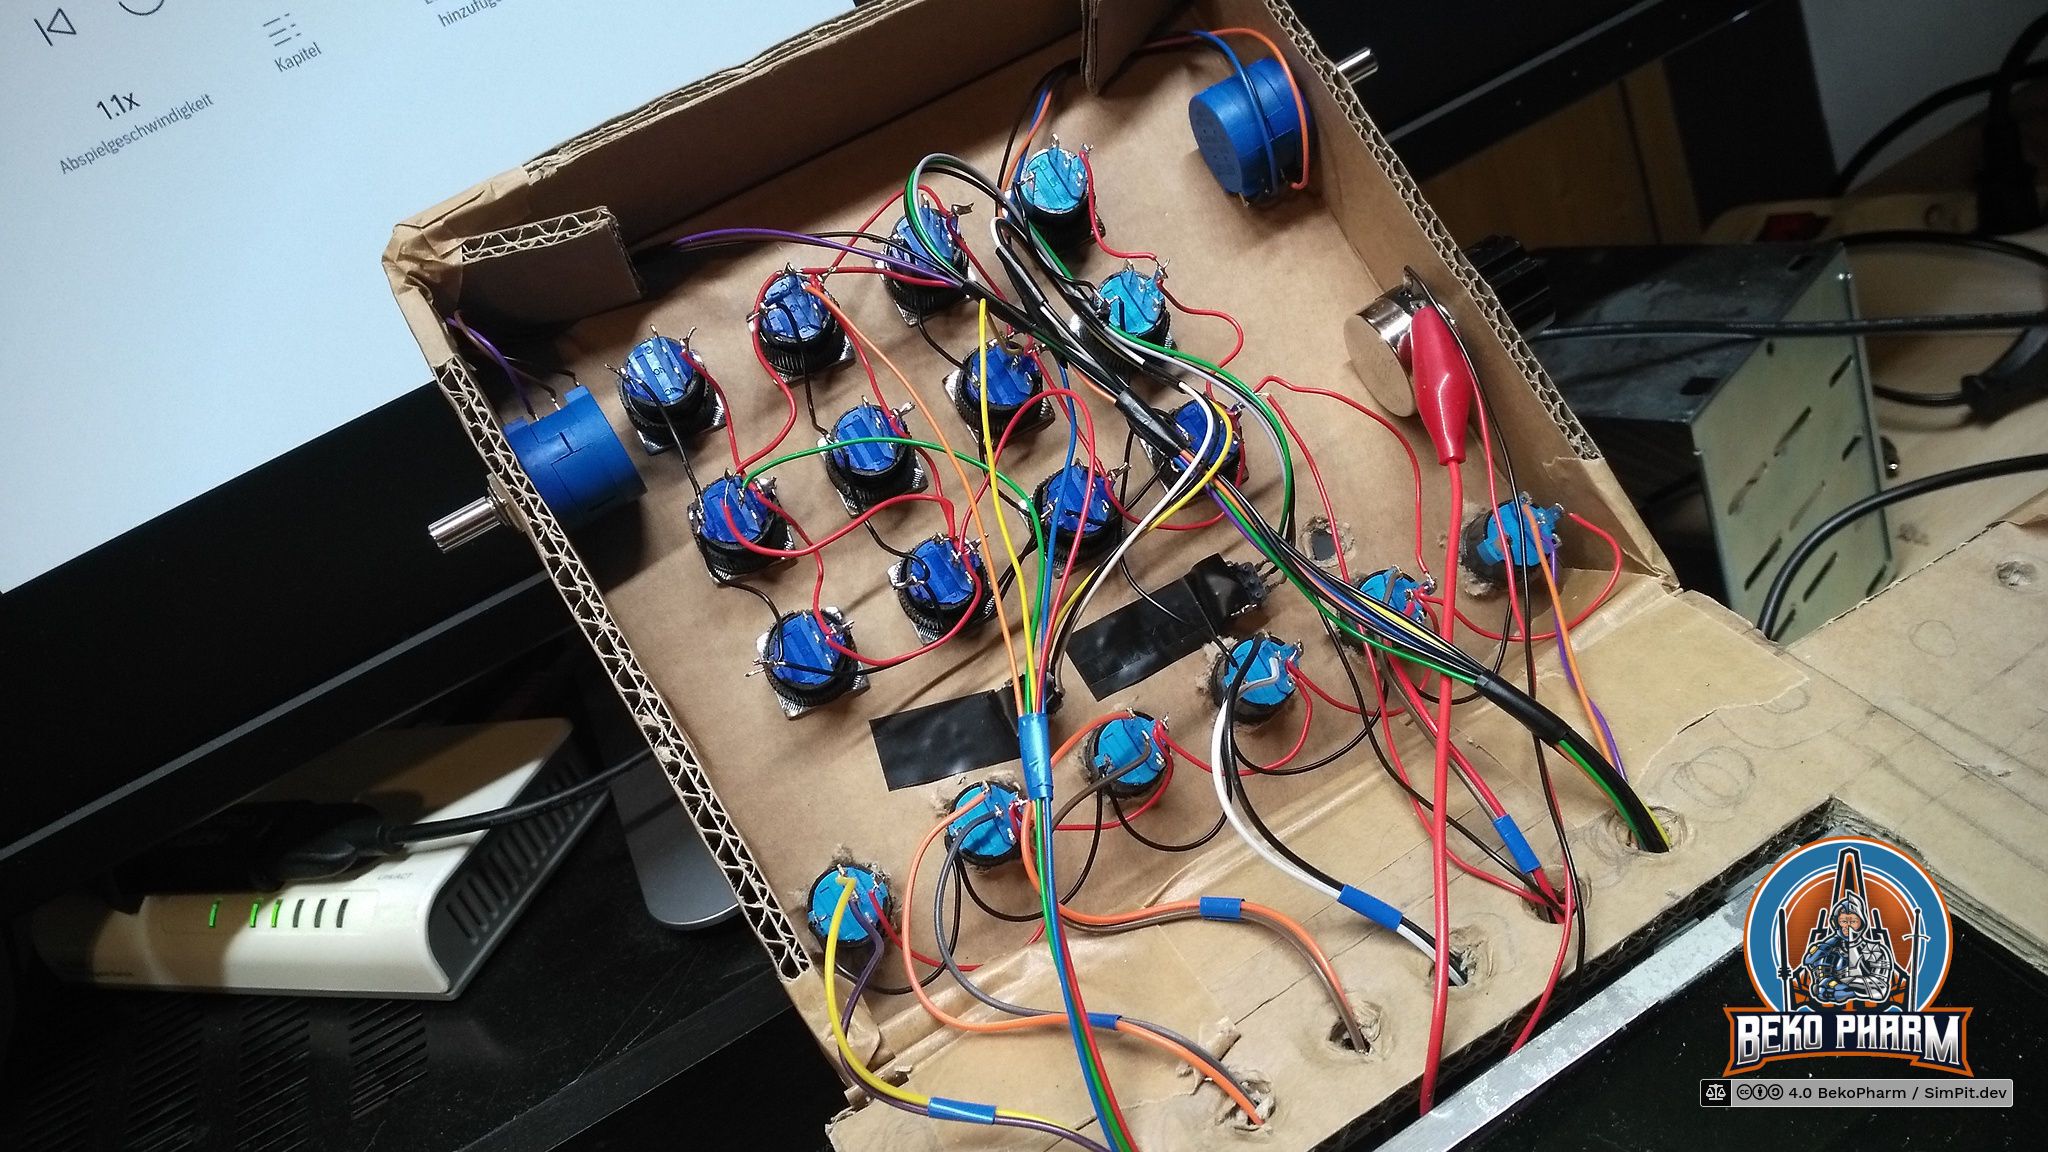
ICP from the inside
Here is a peek under the hood of my “ICP”. Now isn’t that ugly? Anyway. The shiny potentiometer was used for dimming all LED on the panel. They have their own circuit so I could switch this to an external PSU later and might even switch it to 12V someday. The other potentiometers are just various axis.
Version 1 had no rotary encoders at all. The CY-822A was modified to be able to deal with 4 potentiometers as analogue input but that’s it.
The buttons could all share a common ground saving some wires but it was easier this way because I had to plug the wires into an existing connector in the end anyway.
Rewiring
The whole box survived several design changes and different button loadouts until I settled with it’s layout. I also replaced the CY-822A with an Arduino Mega in the end because I was running out of possible inputs on two CY-822A controllers. This is explained in more detail in version 2 however.
The rewiring also introduced a more professional power distribution and a somewhat better cable management. The only really important thing here is that the Arduino Mega is powered from an external PSU as well.
Attention though: My model here has a VIN that is not secured by a diode so the moment the external PSU is shut of it would allow all the LED to draw power from VIN resulting in an early death of the Mega. I added such a diode to the wire connected to VIN to make sure that all the extra consumers are never drawing power from the Arduino. That pin is not even rated in my datasheet!


